Ahhh, tanks. Everyone loves them, and you can more or less guarantee you’ll run into one in just about every game of Bolt Action you play. While not inherently game-winning in their own right (you need infantry to take those objectives, after all), an enemy tank driving around the battlefield unimpeded can seriously interfere with the business of winning, and be a real obstacle for your carefully-laid masterplan! It is therefore imperative that you have some way of dealing with enemy armour – fortunately, there are a great number of tools available to help you do this. Let’s take a look at them, and the best way to use them! To avoid repetition (and an overly-long article!), I’ve grouped them into several classes of broadly similar weapons.
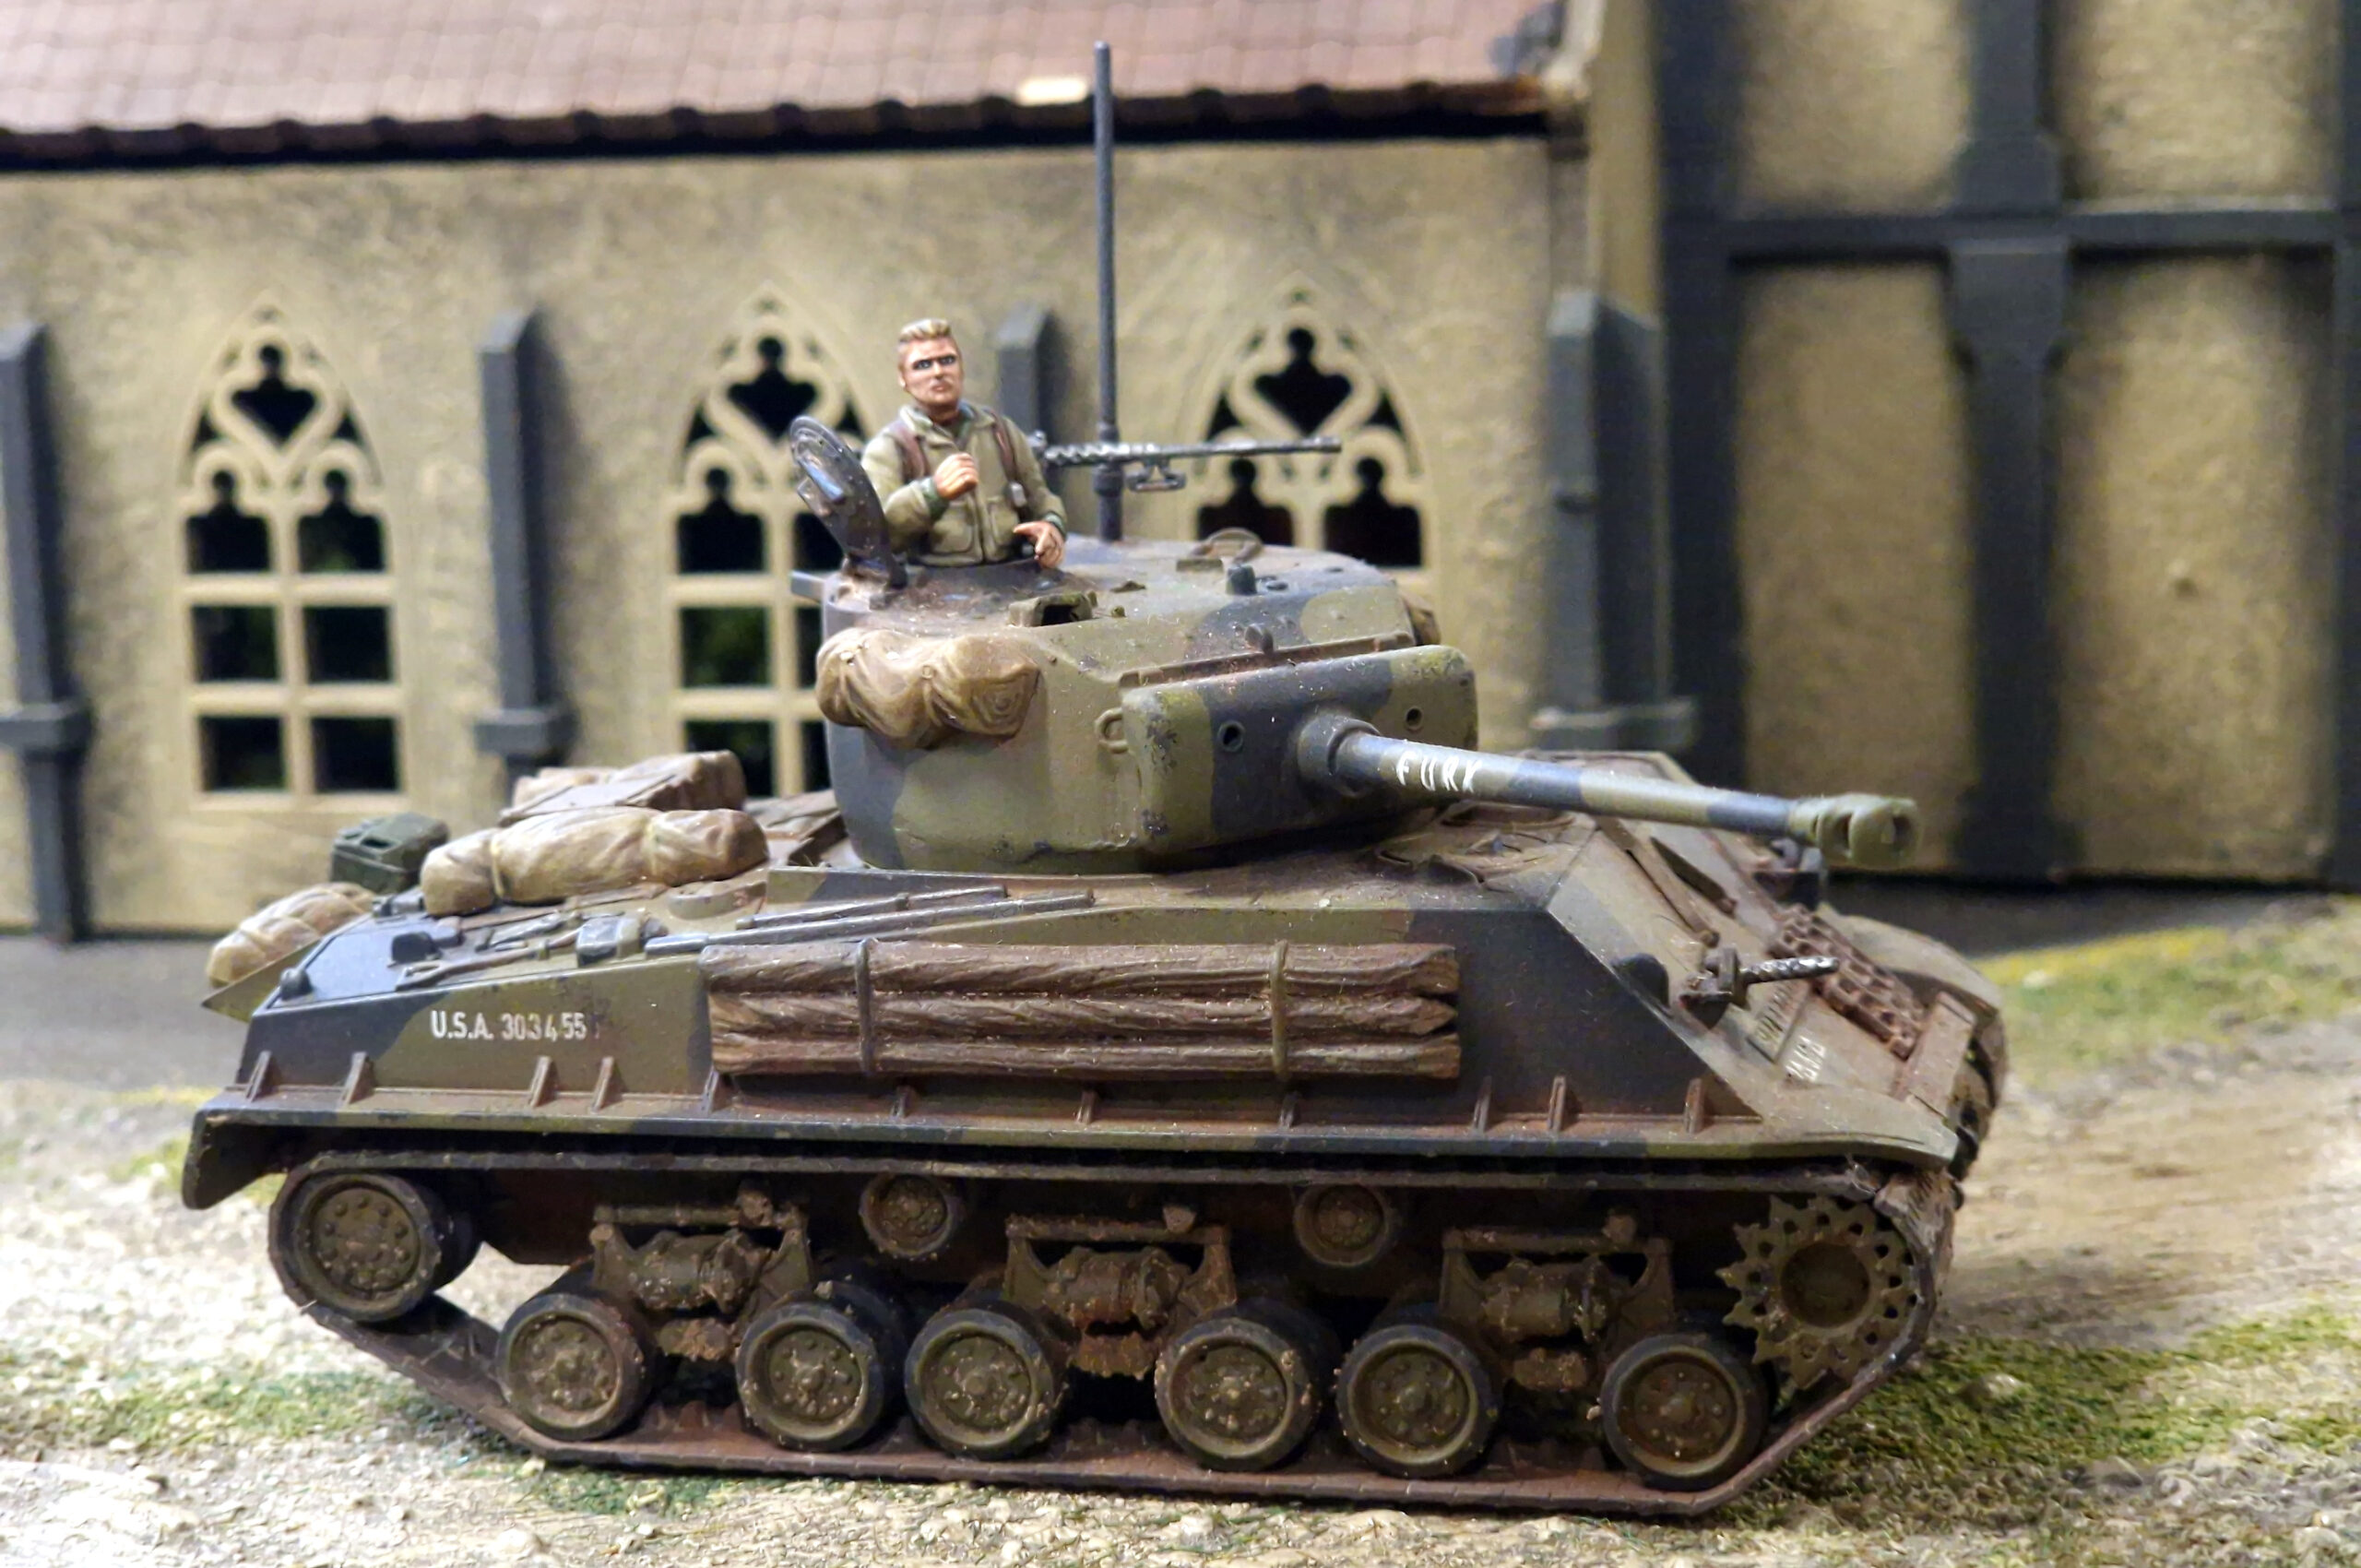
Before we look at weaponry, however, it’s important to understand exactly what sort of armoured beast we are going to have to deal with! We’ll be using an example tank for this article, a Regular Medium with a Damage Value of 9+, mounting a pair of Medium Machine Guns (one in the forward hull, one co-axial), and a Heavy Anti-Tank Gun in the turret. That’s right, it’s a Panzer IVH… or a T-34/85… or an Easy Eight… it doesn’t get much more ‘everyman’ than that! This is exactly the kind of vehicle you can expect to see in basically any list, costing around 235 points and providing good service on the battlefield. Some players may well go lighter or heavier, cheaper or more expensive, but let’s strategise against the median rather than the outliers!
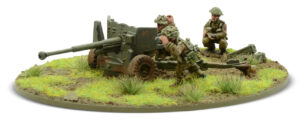
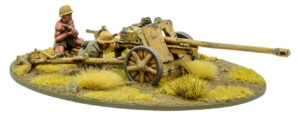
The first category of weapon we’ll look at for dealing with our hypothetical tank is the most obvious – the anti-tank gun! Historically, these were (of course) the go-to weapon for dealing with enemy armour throughout the Second World War, and come in a wide variety of shapes, sizes, and calibres. In Bolt Action, we abstract this by categorising them as Light, Medium, Heavy, or Super-Heavy. With an anti-tank gun, we’re really looking for one shot, one kill – beating the tank’s 9+ Damage Value and rolling a 4, 5, or 6 on the damage table. Sounds easy, right? Given that a Medium AT gun’s Penetration value is ‘only’ 5+, we’re still looking for 4’s to inflict superficial damage, or 5+ to penetrate the armour – with only one shot, I’m not a huge fan of those odds! While we can of course get a better chance of a kill by increasing the size of gun, that can start to get expensive, and for the points-conscious among us can be a no-go. Instead, let’s look at some of the ways we can use our Medium AT gun cannily to improve our chances of success!
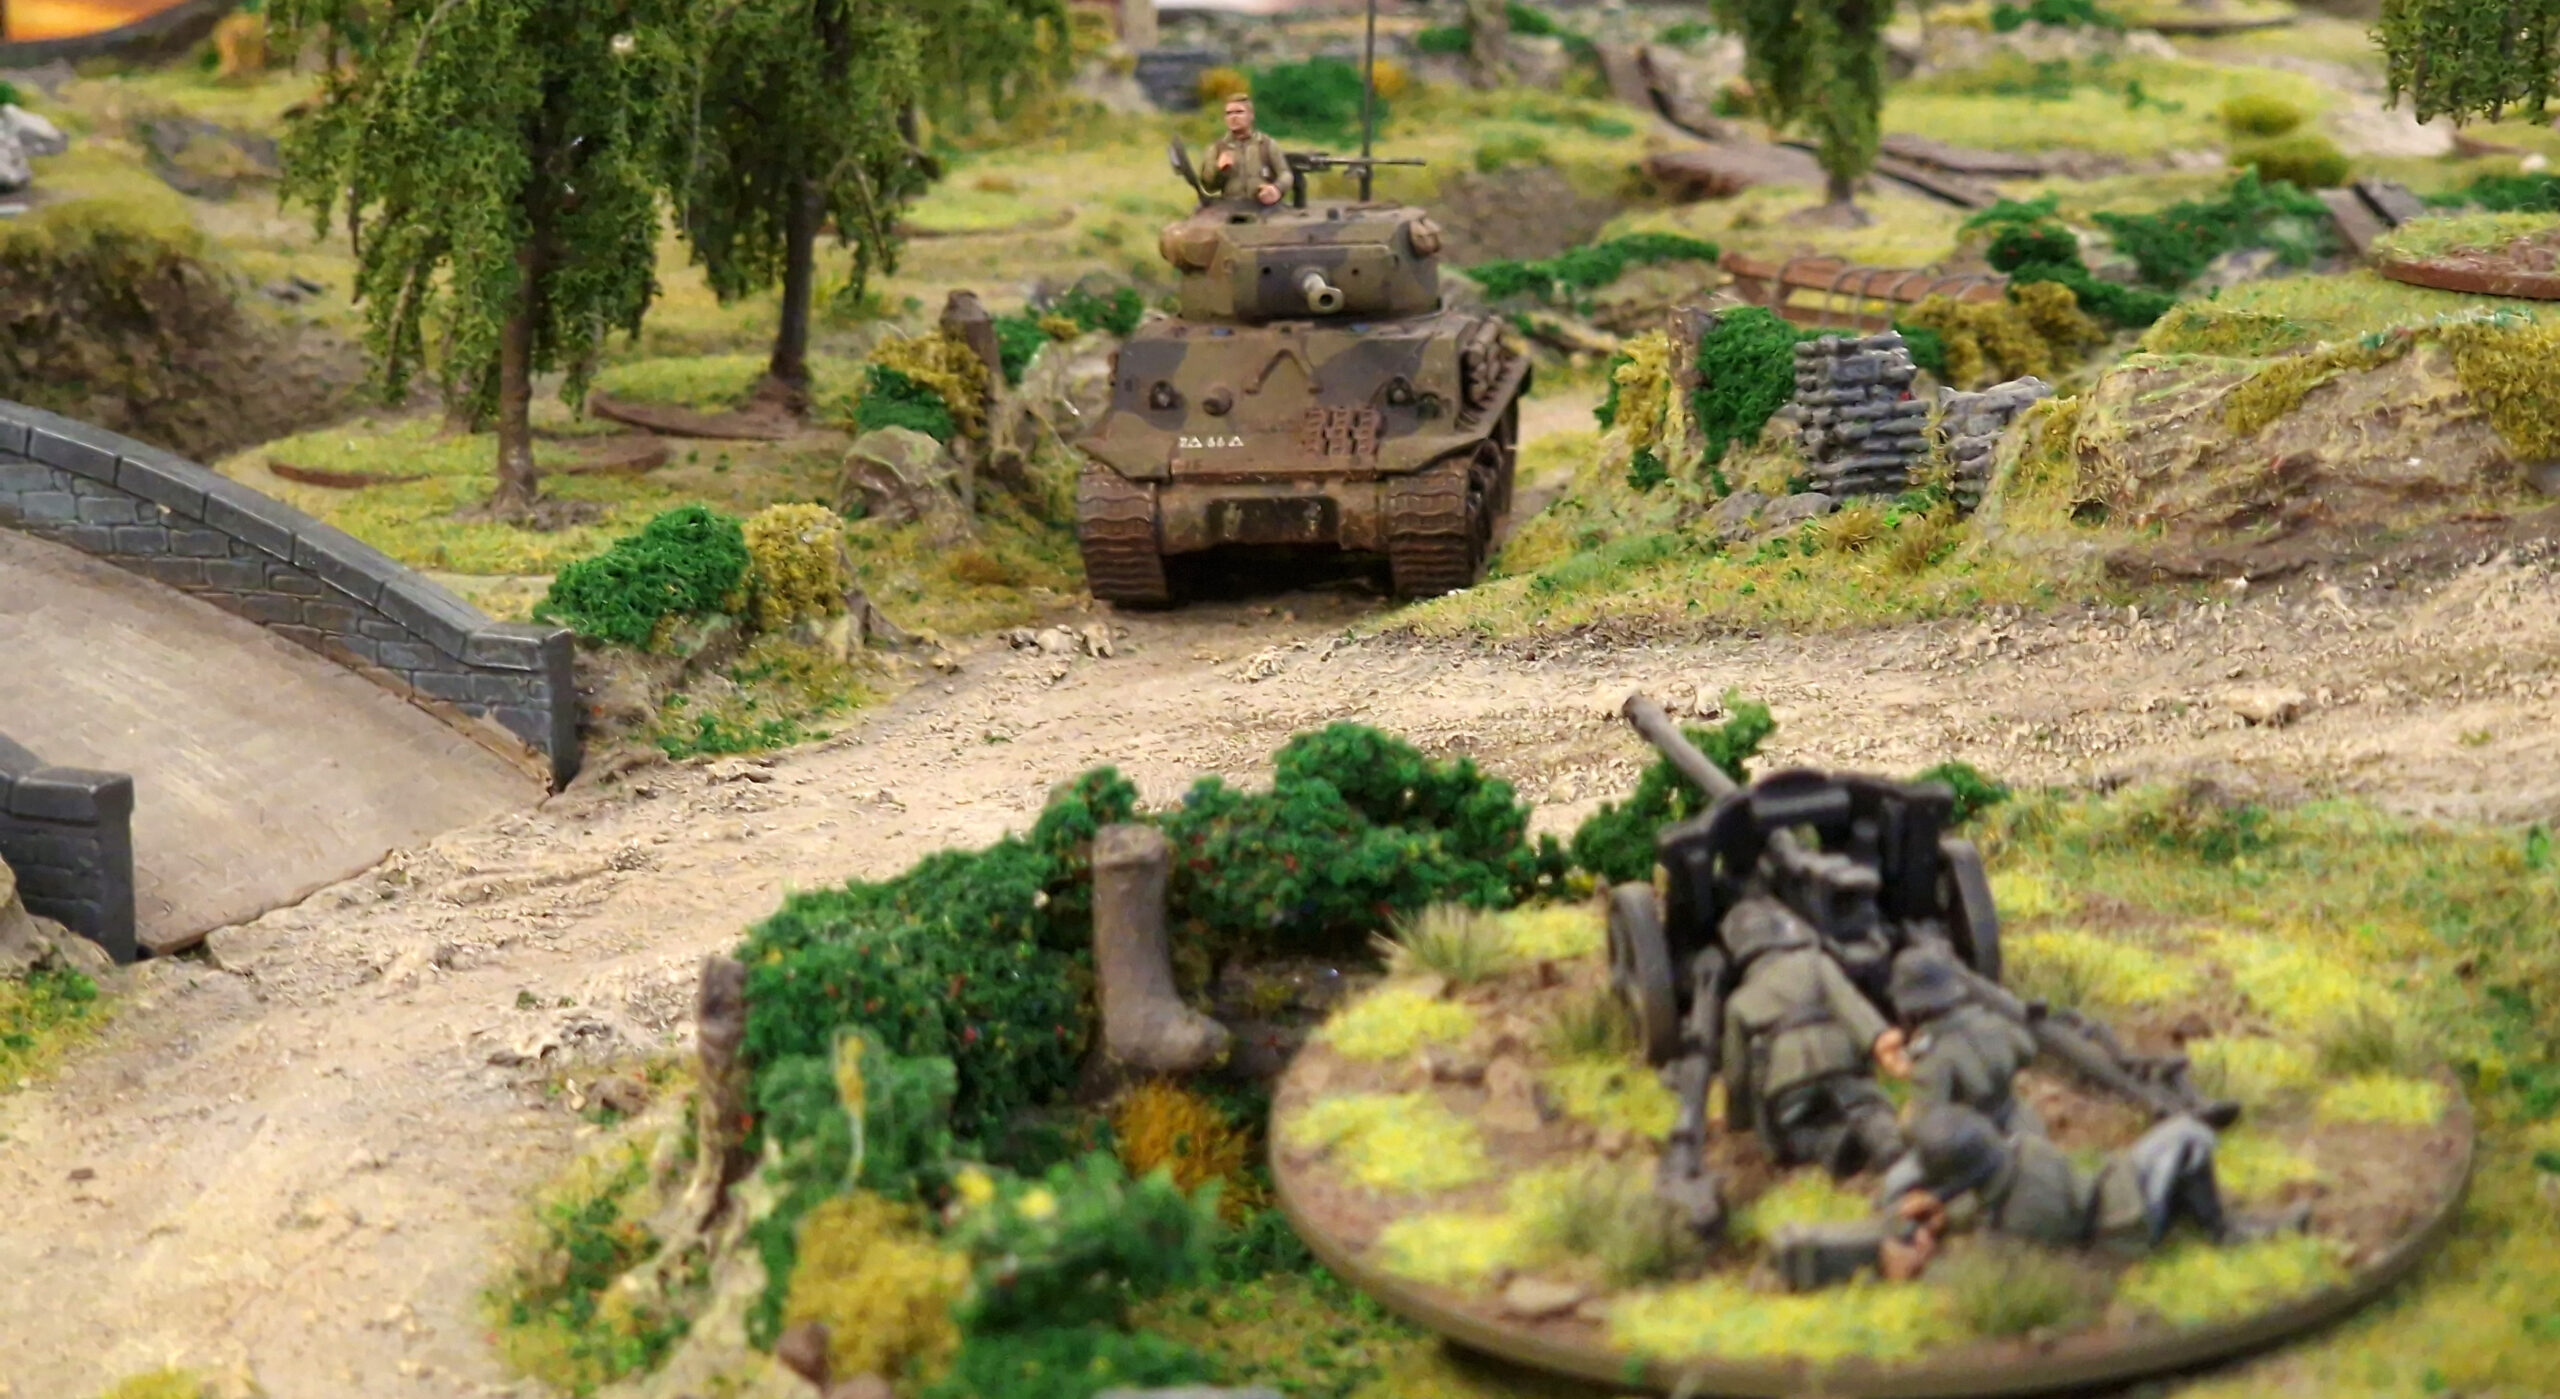
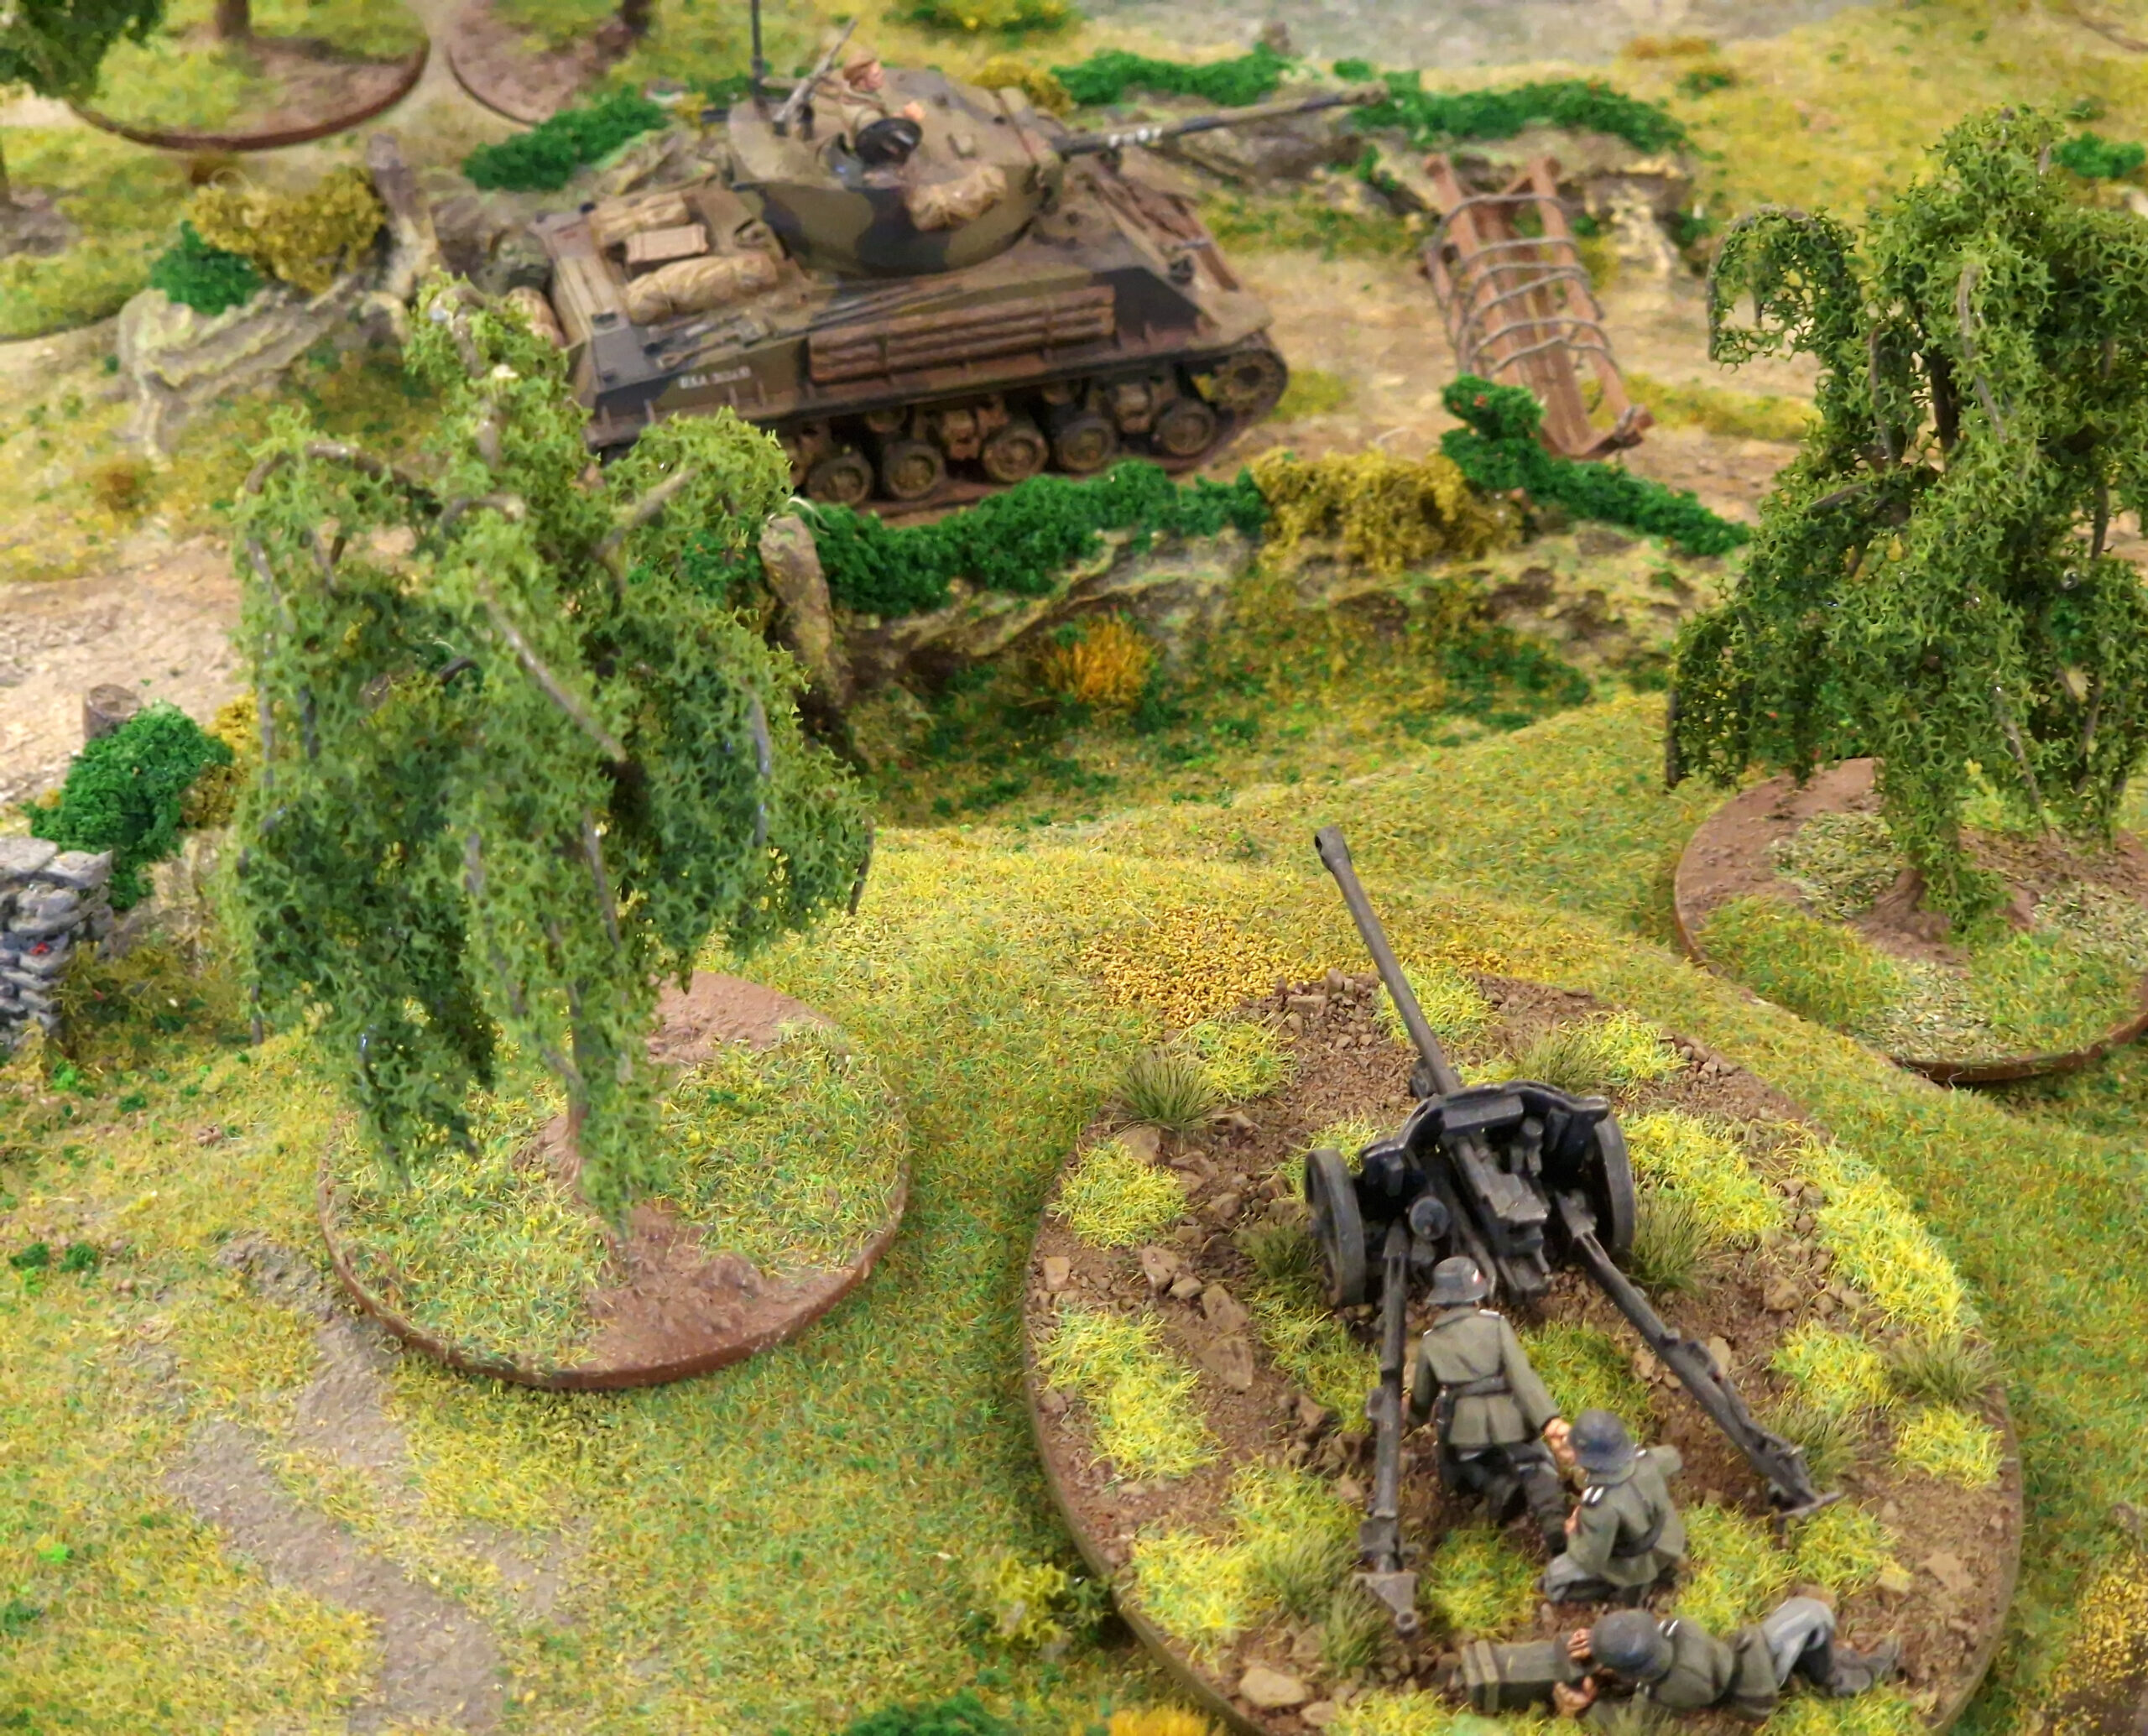
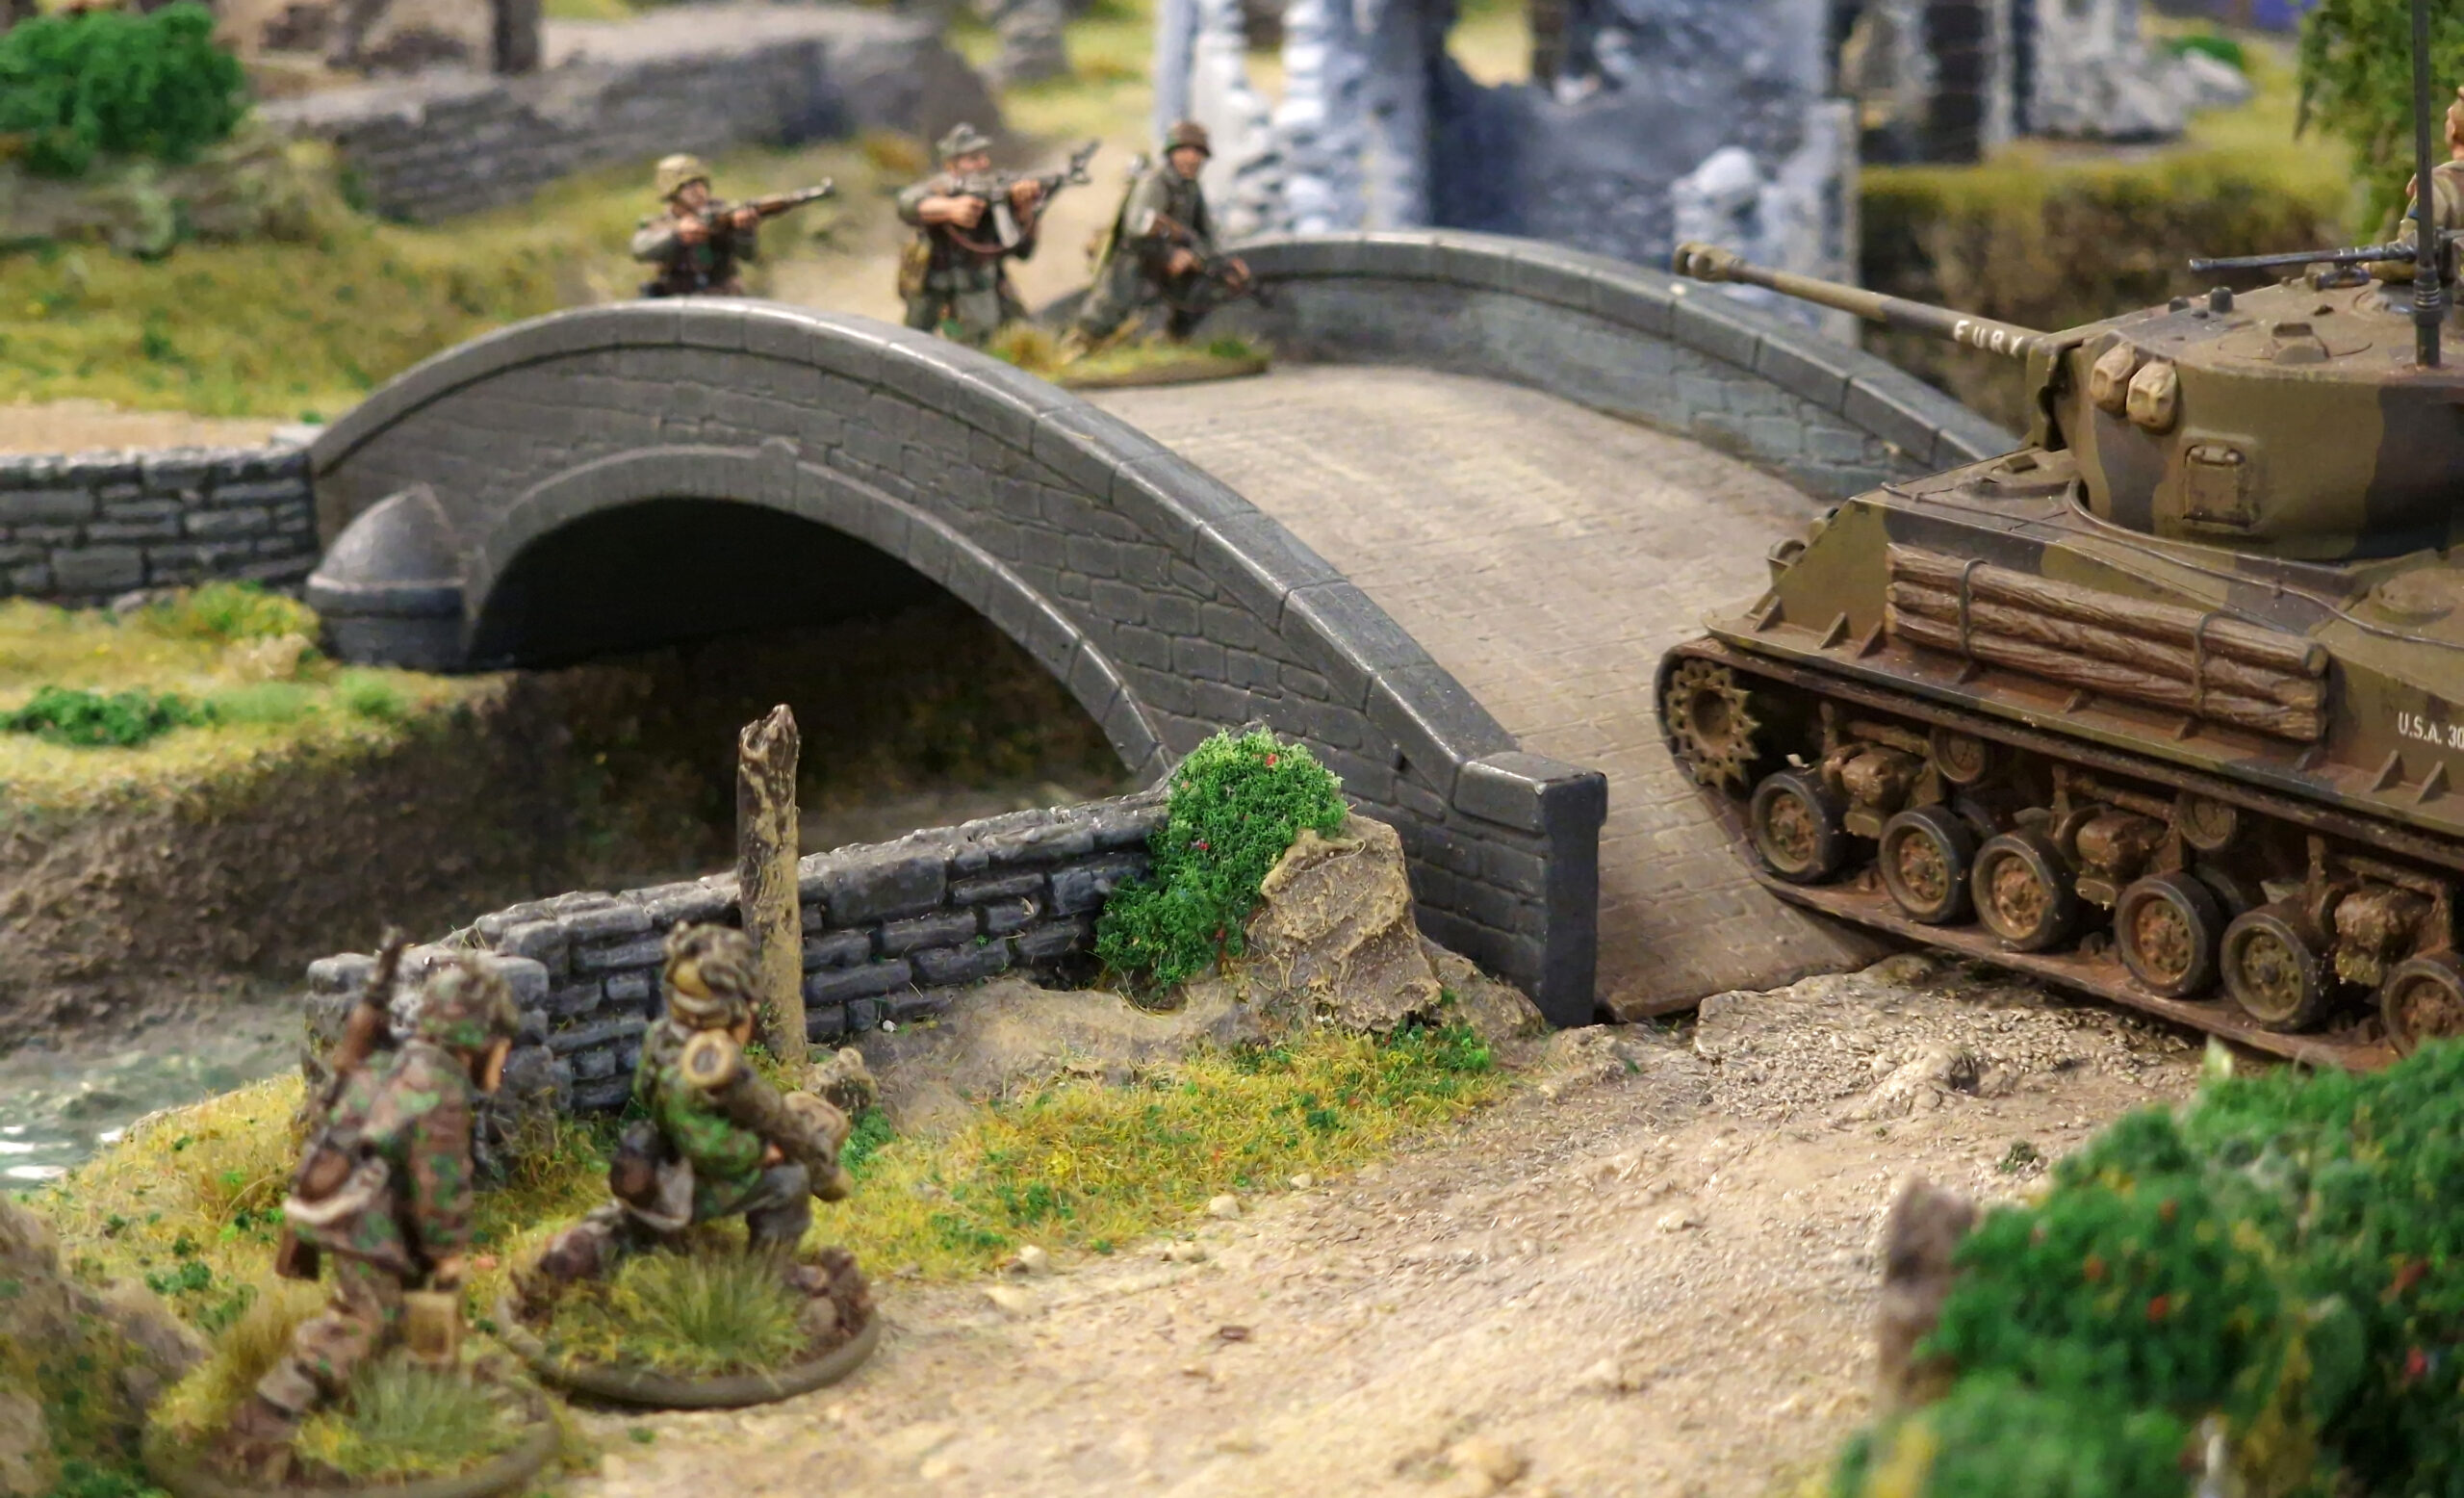
The most obvious way to do this is to avoid taking shots at the thicker front armour – aim for the sides, or even better the rear, and reap those Penetration bonuses! Of course, your opponent probably isn’t going to be so obliging as to put their tank in such a vulnerable situation, so we’ll have to… encourage them somewhat. This is where ‘playing the table’ comes in handy. You’ll want to study the table carefully during deployment, and identify where you think your opponent is likely to want to deploy and move their tank – to an extent you can influence this with your deployment, particularly if you have a tank of your own – and from there extrapolate the best firing positions for your gun. For example, if there is a natural bottleneck that the enemy tank must pass through in a certain orientation, then a position flanking that location is an ideal spot for an anti-tank gun. Similarly, try to avoid siting your gun in a position where it can quickly lose sight of its target – nobody likes having to reposition instead of shooting! Wait until the range is right (ideally inside half-range to avoid the negative Penetration modifier), and as soon as you see a vulnerable spot, open fire! Ambush orders can be exceptionally useful for this, as they allow you to pick exactly when during an opponent’s move you take the shot. Remember, though – no matter how much you stack the odds in your favour, only the dice gods can save you from a dreaded ‘1’!
I want to very quickly touch on tanks as an anti-tank weapon at this point – they can indeed be one of the most potent options available, but tank-on-tank combat has its own intricacies, and really deserves an article of its own – so we’ll revisit this in the not-too-distant future!
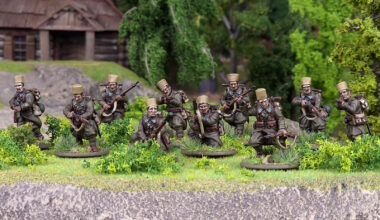
The next set of anti-tank equipment we’re going to discuss is a bit of a catch-all – infantry anti-tank weapons. These range from Molotov Cocktails and other improvised grenades, all the way through anti-tank rifles, up to high-tech shaped-charge rocket launchers, and most armies can field a bewildering array of them! Anti-tank grenades are their own beast, as they make it much more likely that assaulting a vehicle will succeed, but don’t actually add any weapon-related bonus. Vehicle assaults can be useful, but I find them to be very situational – a unit with AT grenades is nice to have, but if I need to find 20 points somewhere in my army list, then they’re the first bit of kit to go. Far more useful (for my money) are the ranged options, which fall into two sub-categories – squad-based, and standalone teams. The gold standard of the squad-based infantry AT weapon is of course the legendary German Panzerfaust, available to several nations through capture or supply, while the British PIAT can be fielded in some frankly rather concerning Paratrooper squads! With only a 12″ maximum range, these weapons are really designed for point-blank use, with the Panzerfaust being one-shot. They pack the same punch as a heavy AT gun, however, which means that a smart tanker will stay well away from your infantry. I’m an enormous fan of including one or two per squad where possible, simply as an insurance policy. They can also make great surprise weapons – nobody ever seems to expect those desperate Volksgrenadiers to jump out of their foxholes and take a run at that IS-2, but if they manage to hit, the Soviet tank could be in for a world of hurt!
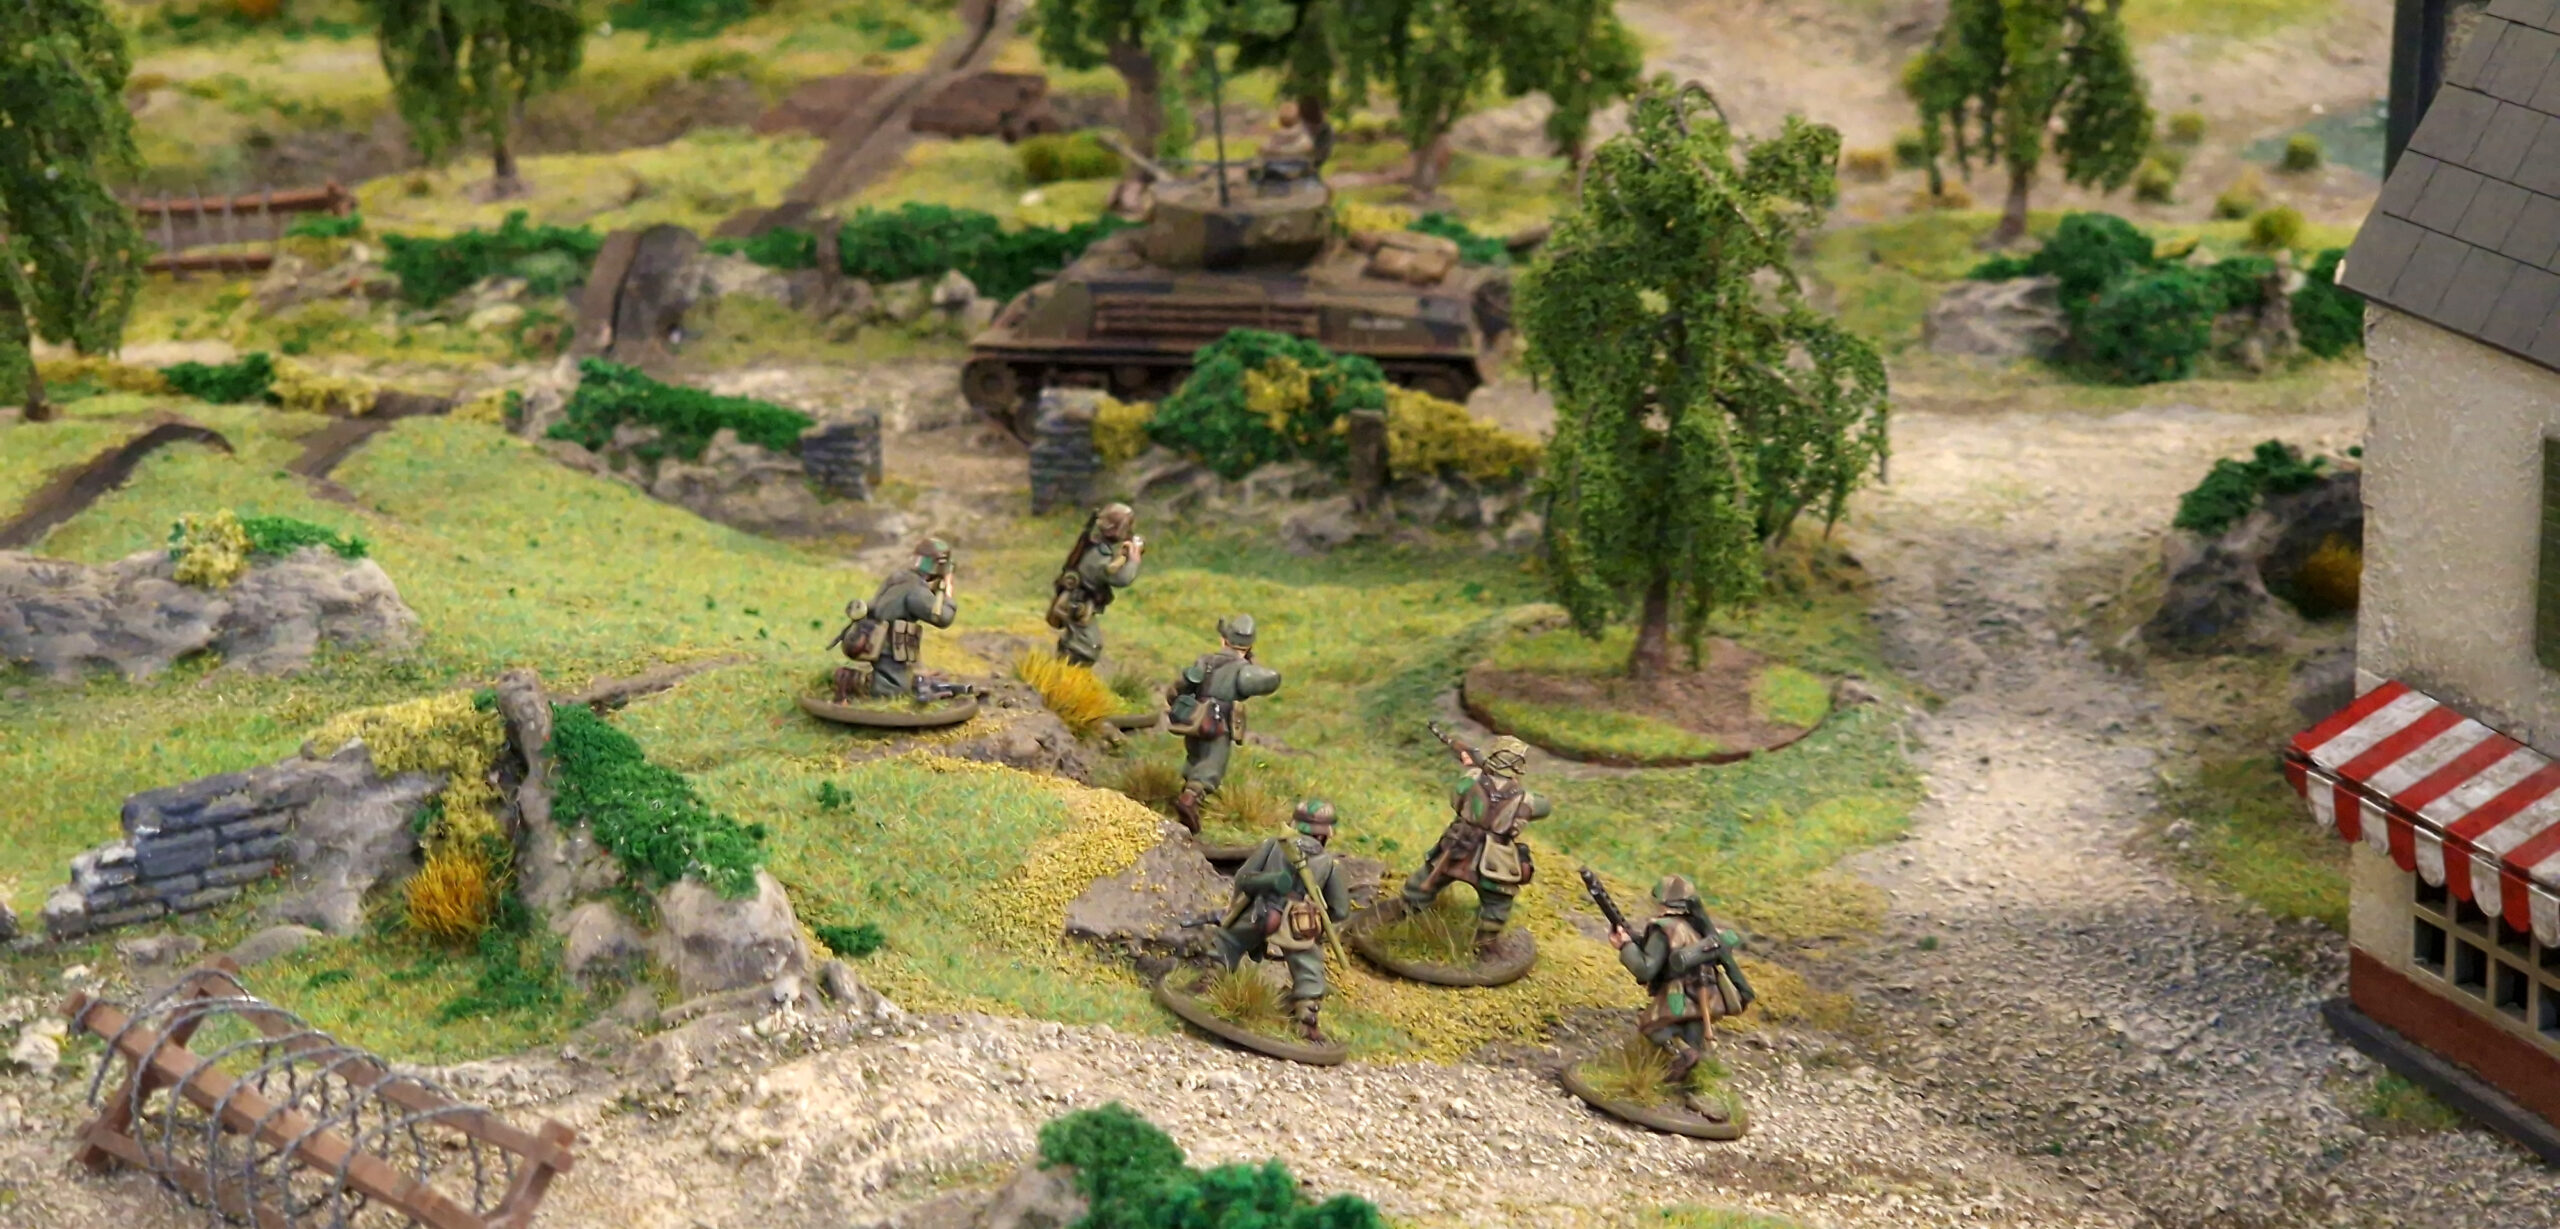
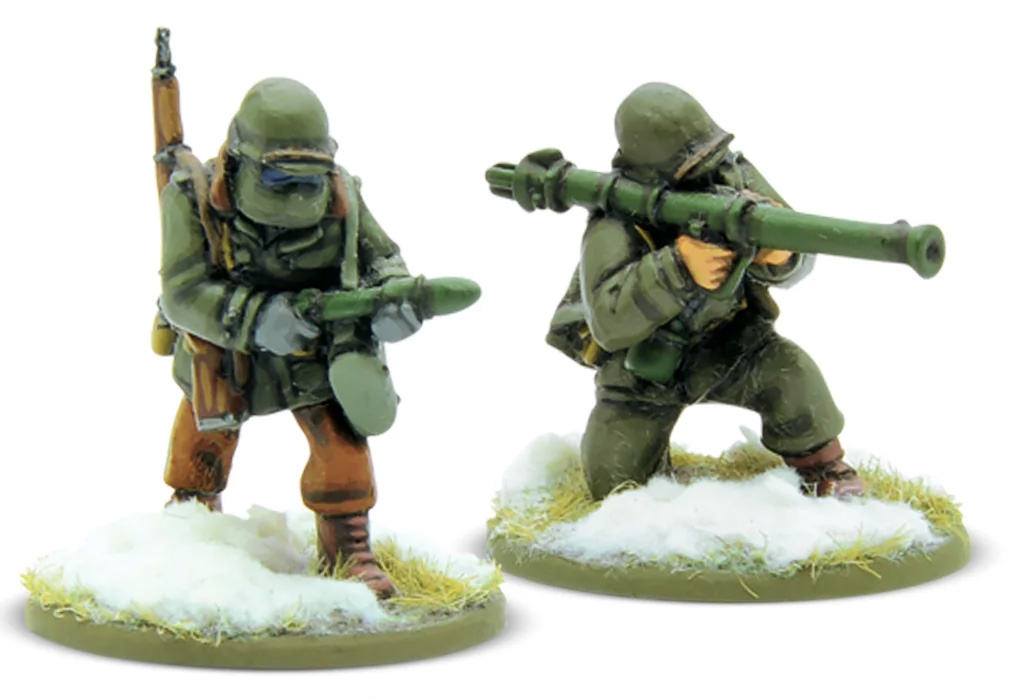
Larger infantry AT weapons tend to be fielded as Small Teams – the iconic Bazooka and very similar Panzerschreck are good examples of this. Think of them like a Panzerfaust with twice the range, and you’re about there! These can be used much more to hunt tanks than to discourage them, as the extended range combined with Shaped Charge means they can reach out and touch the target without unduly exposing themselves. Small Teams also makes them harder to hit, meaning they’re a little more survivable. Usually costing around 50-70 points per team, they are the perfect choice to employ the principles we talked about in the AT gun section – get around to the vulnerable sides or rear of the enemy tank, and let fly! There are also the Anti-Tank Rifles – these weapons were really obsolete by the mid-war period, but still have their utility on the Bolt Action tabletop. With a Penetration of only +2, they aren’t likely to trouble our hypothetical Medium tank, but what they can do is put Pins on – which brings us nicely to our last point!
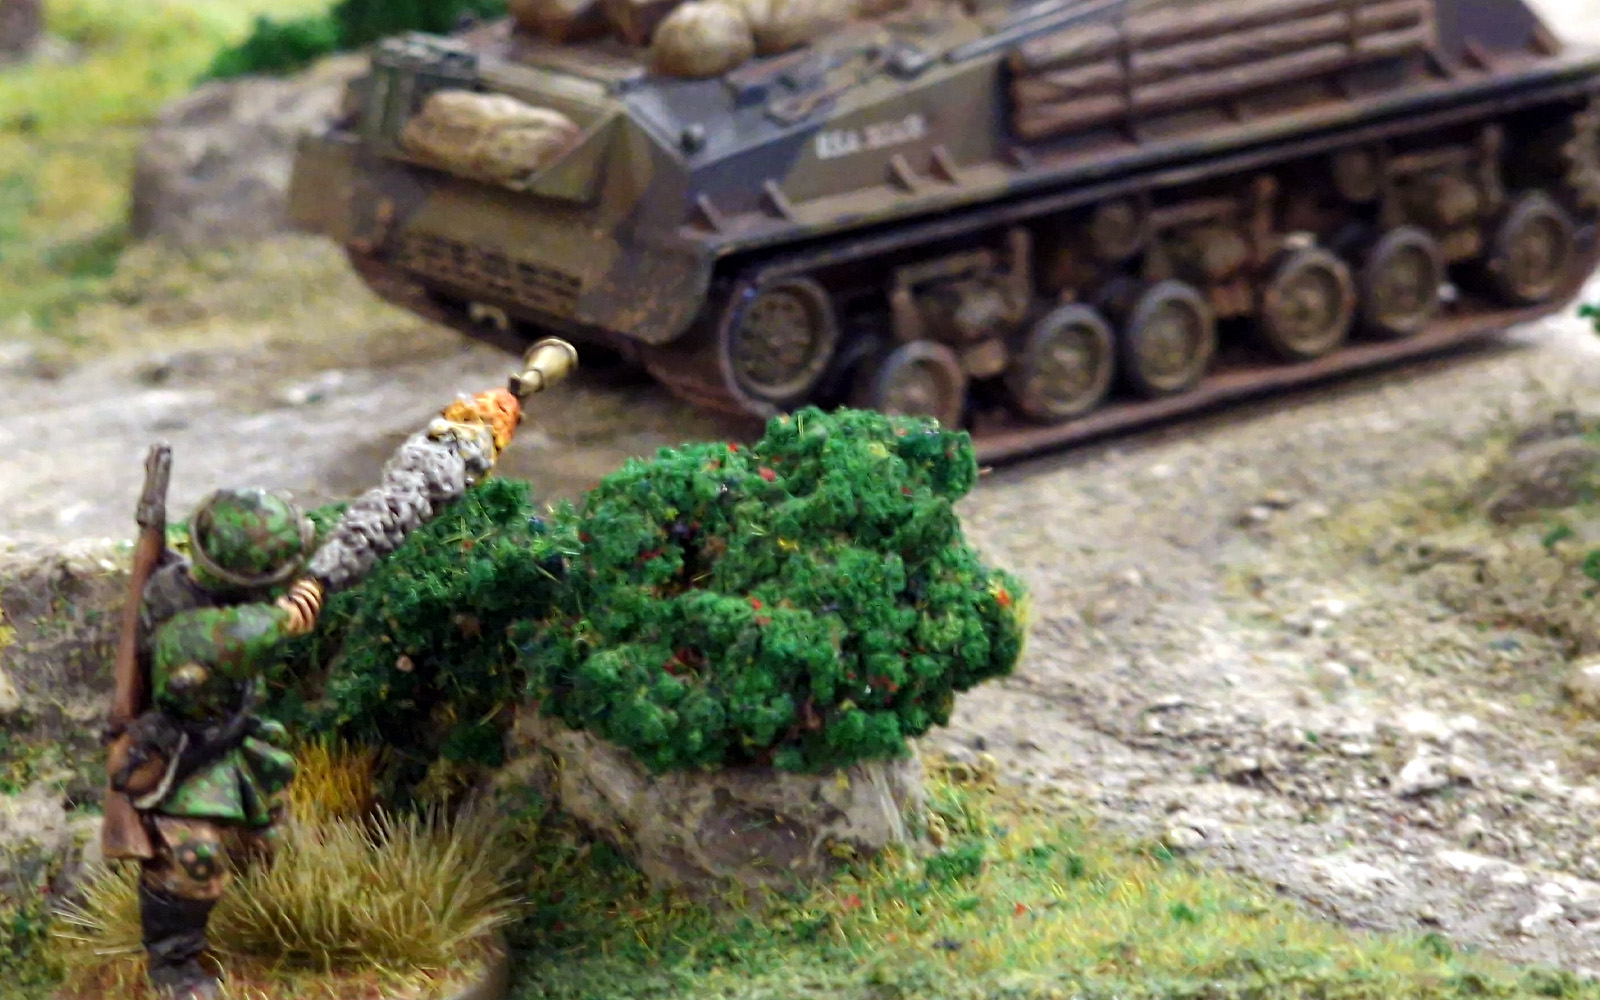
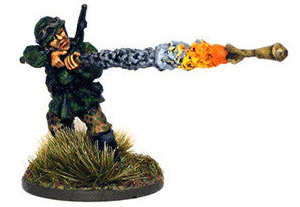
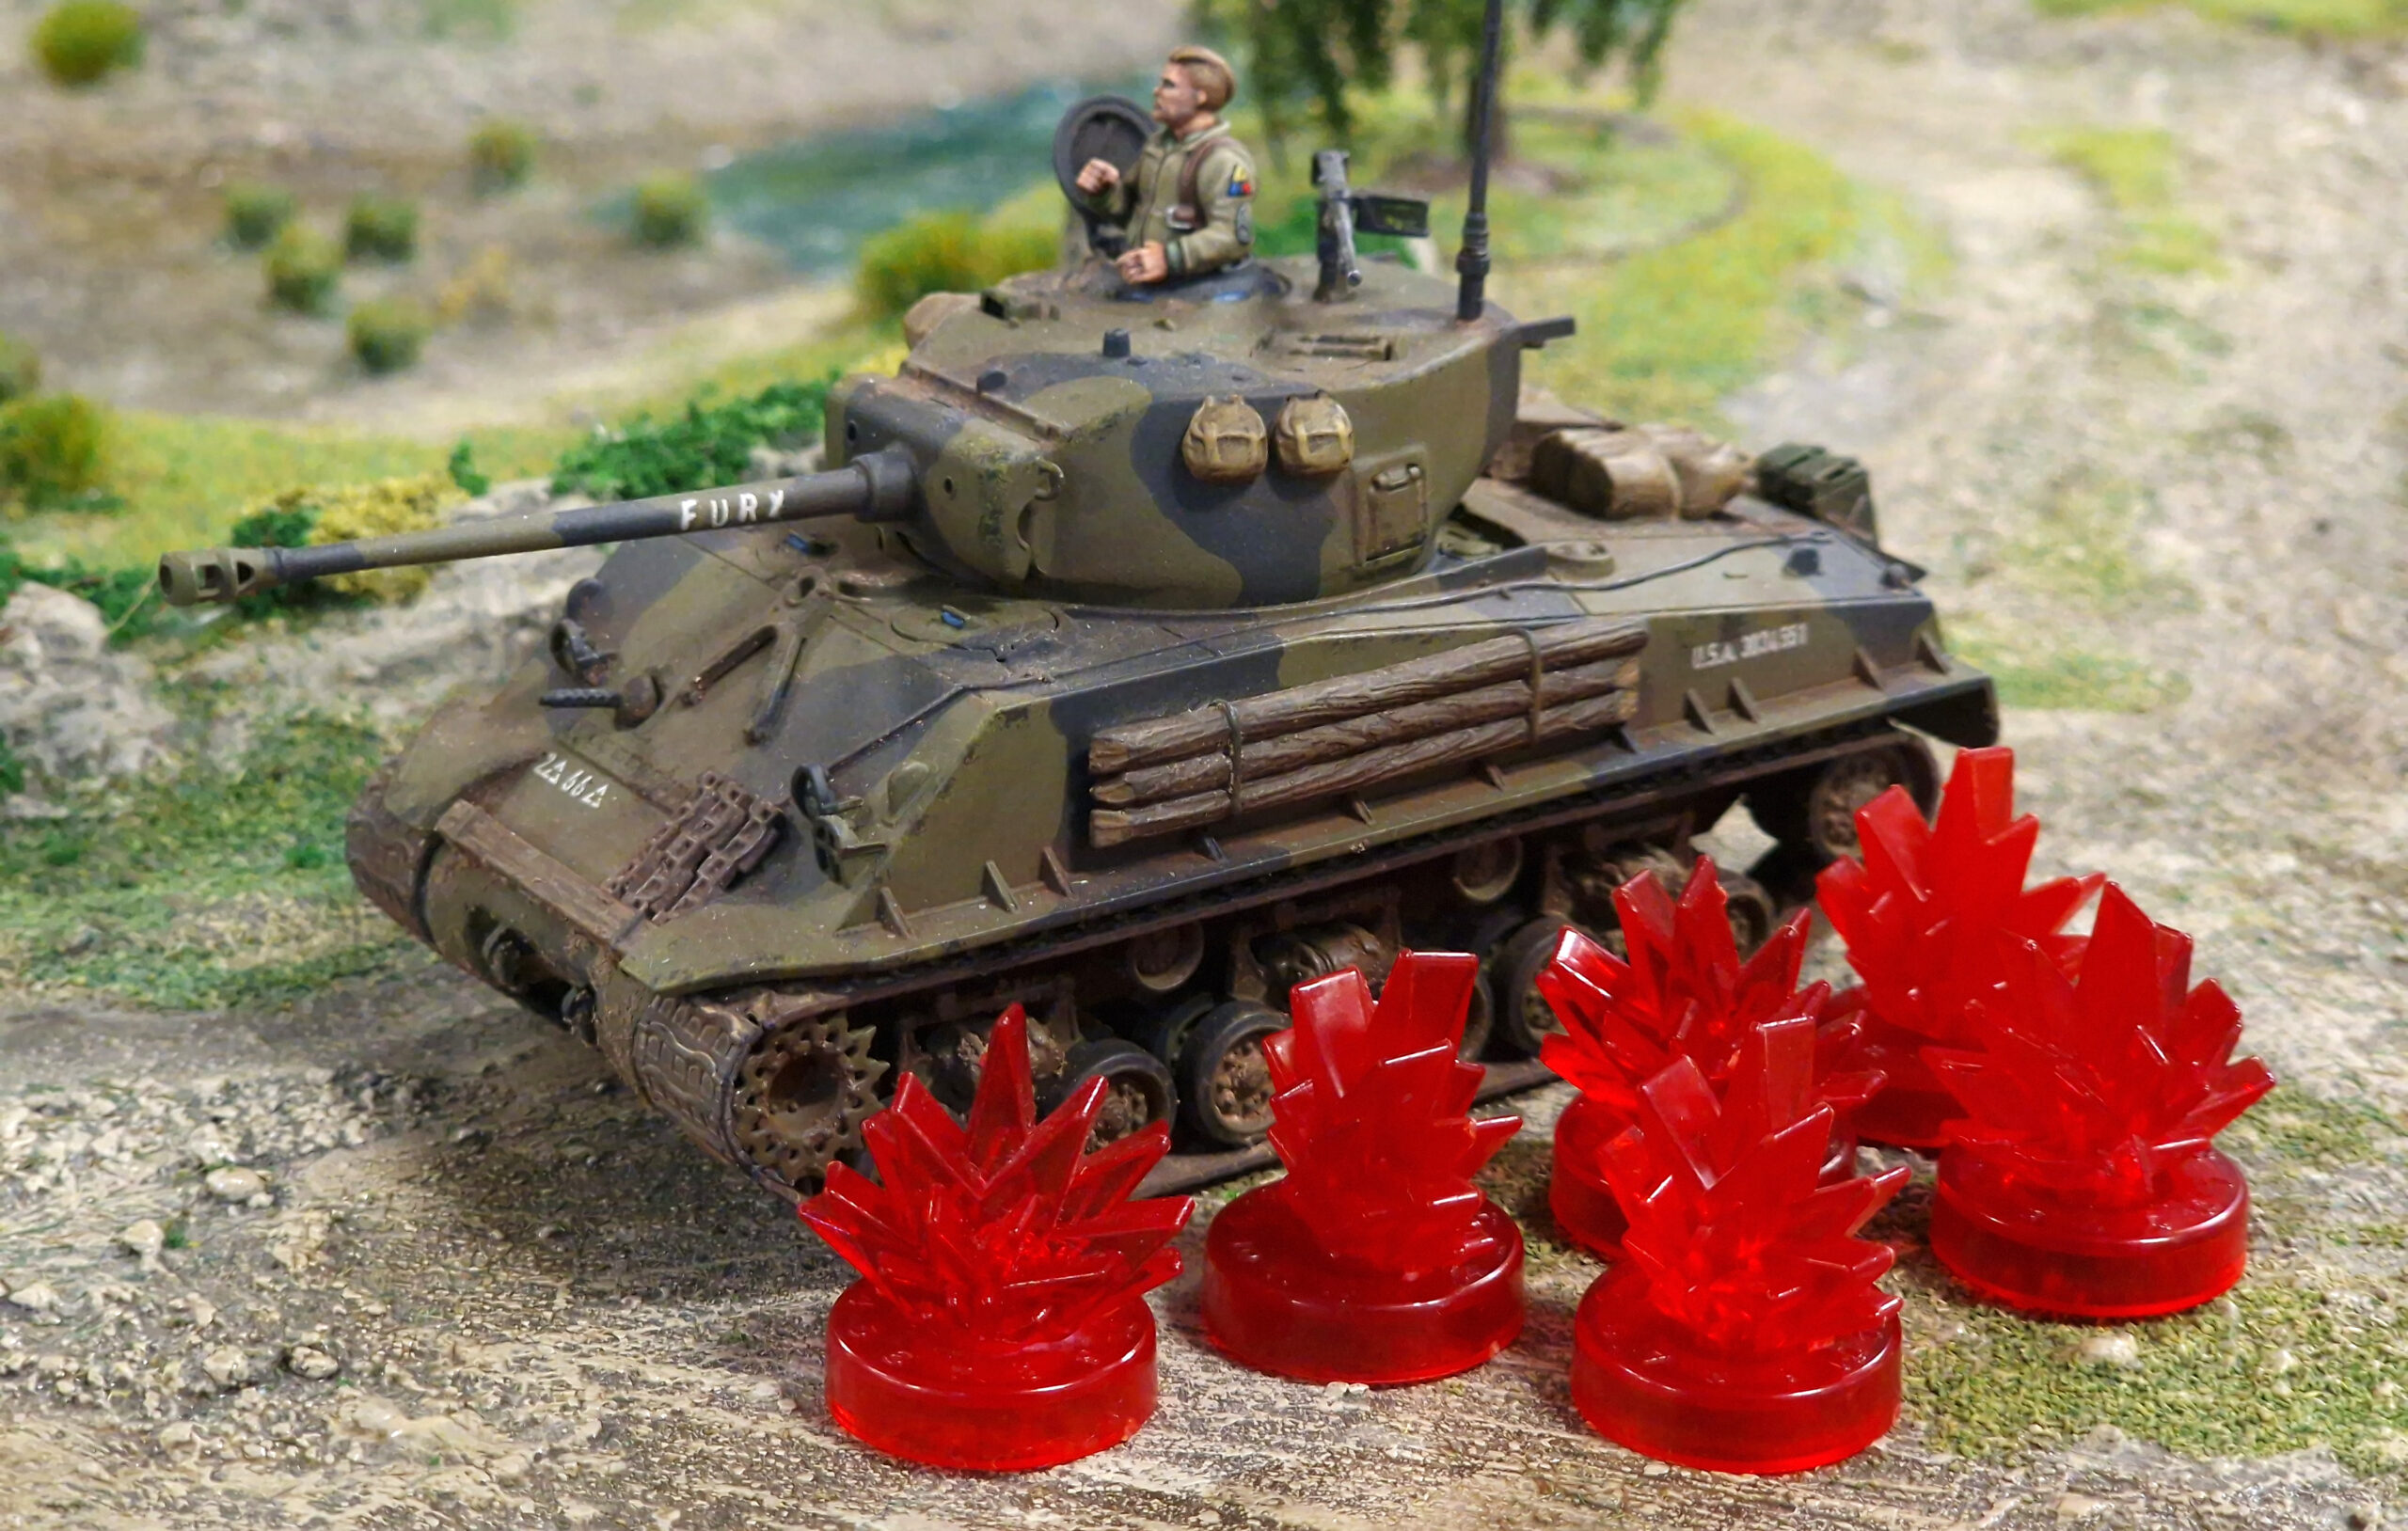
You don’t always need to penetrate a tank to kill it! As our hypothetical tank is a Regular, any hit from a weapon with a Penetration value will apply a Pin. Regular readers of my articles will know that I have very strong views on Pins – they mean wins! While we would need to put 9 Pins on the tank to make the crew bail out wholesale, which is a little unlikely, what we can do is Pin it into a situation where it can’t really do anything other than Rally – I find four or five Pins does the trick. To achieve this, if your opponent is foolish enough to expose their vehicle, let fly with anything that can Pin it – provided that this doesn’t compromise your other plans; a cunning opponent can use the threat of a vehicle to distract your heavy firepower. A tank that spends all its time Rallying is about as much use as no tank at all, though, so always consider putting a Pin on if you get the opportunity. The final word in anti-armour psychological warfare is, of course, the flamethrower. Applying pins, and forcing an immediate morale check to survive, the flamethrower is arguably the single most efficient way to remove a tank… provided it can get close enough! We’ve covered one way you can get your flamethrower teams in range in a previous article on using reserves, but be aware that they’ll be Public Enemy Number One as soon as they appear on the table!
With that, you should have everything you need to kill the ‘average’ tank – you can adjust the strategy as needs be when facing smaller or larger armoured vehicles, and to suit your points budget and taste. There’s no need to be cowed by enemy armour – fight smart, keep your nerve, and pray to the dice gods, and you can come out on top!

1 comment
Great article! I’ve been really enjoying all the bolt action/ konflikt articles recently.
I’m a fan of using a howitzer to add D3 pins to tanks! They also have the benefit of not losing penetration values over half range!